Defining Picture for this activity - see picture directions doc
Engage/Elicit
Discovery Question - Why do plants have stems, roots and leaves?
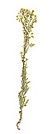
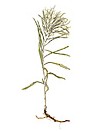
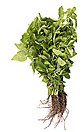
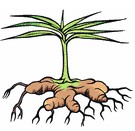
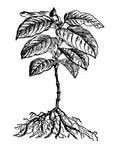
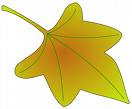
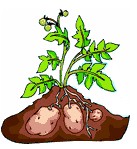
What do these three pictures of plants have in common? Picture 1, 2, 3


Picture Info: the three images need to show three different types of leaf structure, one picture needs to have thick roots , one picture needs to have one long root with tiny small roots comming off it and another picture needs to have comprehensive root structure like one that would hold up a tree. The pictures above are examples of what might be used. I would really like to keep the tree but could swap out the other two pictures if there were better examples that meet the requirments I list above. Also it would be nice if the shape of the trees leaves was obvious. The goal of this unit is to see different types of leaves, stems and roots. |
answer - they all have roots, stems and leaves+
In this activity, your job is to figure out why plants have leaves, stems and roots. Don't forget to think about what you learn in this activity help answer the driving question - what do plants eat?
Materials:
- newspaper to cover tables
- house plant
- hand lens
- scissors (stem experts only)
- cerely (stem experts only)
- 10 oz clear plastic cup or beaker (root experts only)
- water (root experts only)
Explore
1. Find two other people you want to work with. Your teacher may help you pick your partners and provide you with the materials.
2. Each of you will be investigating a separate part of the plant. As a group, decide who will become the Leaf Expert, the Stem Expert and the Root Expert.
3. If you are the Leaf Expert, click here.
If you are the Stem Expert, click here.
If you are the Root Expert, click here.
the design of this activity should appear to the student to be hyperlinked. for example of I am a leaf expert, I jump to the section of the procedure tthat is only for leaf experts and then I jump to the area where the leaf experts answer their questions. As this is written in confluence, it is looking linear when in implementation it should not. Need to find icons for the hyperlinks. |
| we could have a coach jump in here and talk about working in groups, getting along with others, dividing up the work and sharing of information, etc... |
Leaf Expert
1. Make observations about your plant by answering the following questions.
- How many leaves are on the plant?
- Are the leaves all the same size?
- Where are the biggest leaves found?
- Where are the smaller leaves found?

need to define and teach students what an observation is
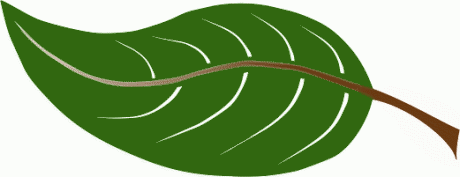
2. Pick one of the biggest leafs off the plant. Make sure to pick it at the place where it attaches to the stem. Picture 4!Leaf cutting.jpg|thumbnail,align=center!
3. Draw the leaf you picked. Make sure to include details in your drawing like color, shape, size.
need to insert drawing tool.
Leaves generally are green. The color of the leaf comes from a pigment called chlorophyll (chlor-o-phil). Chlorophyll is found inside the leaf in a structure called chloroplasts (chlor-o-plasts). Chloroplasts are circular bundles. These green circular bundles capture the energy from the sun.
4. Look at the top side of your leaf under a hand lens. Describe and record what you see?
dialog box |
5. Look at the bottom side of your leaf under a hand lens. Describe and record what you see?
dialog box |
Air is made up of many different gases. One of them is called carbon dioxide. Plants need carbon dioxide. It is one of the materials they take in and use to make food. Carbon dioxide enters the plant through a hole on the underside of the leaf called the stomata (sto- ma- ta). Plants take in carbon dioxide and release oxygen through their stomata.
Add a picture of showing where the stomata are on a leaf. Picture 5 - taking this picture from the TEEMs picture pile - waiting on access to the TEEMS work. 5 |
- Stem Expert
1. Make observations about your plant by answering the following questions. - How many stems does your plant have?
- How many branches does your plant have?
- Are there any new buds on your plant?
- Where are those buds found on the stem?
need to define and teach students what an observation is
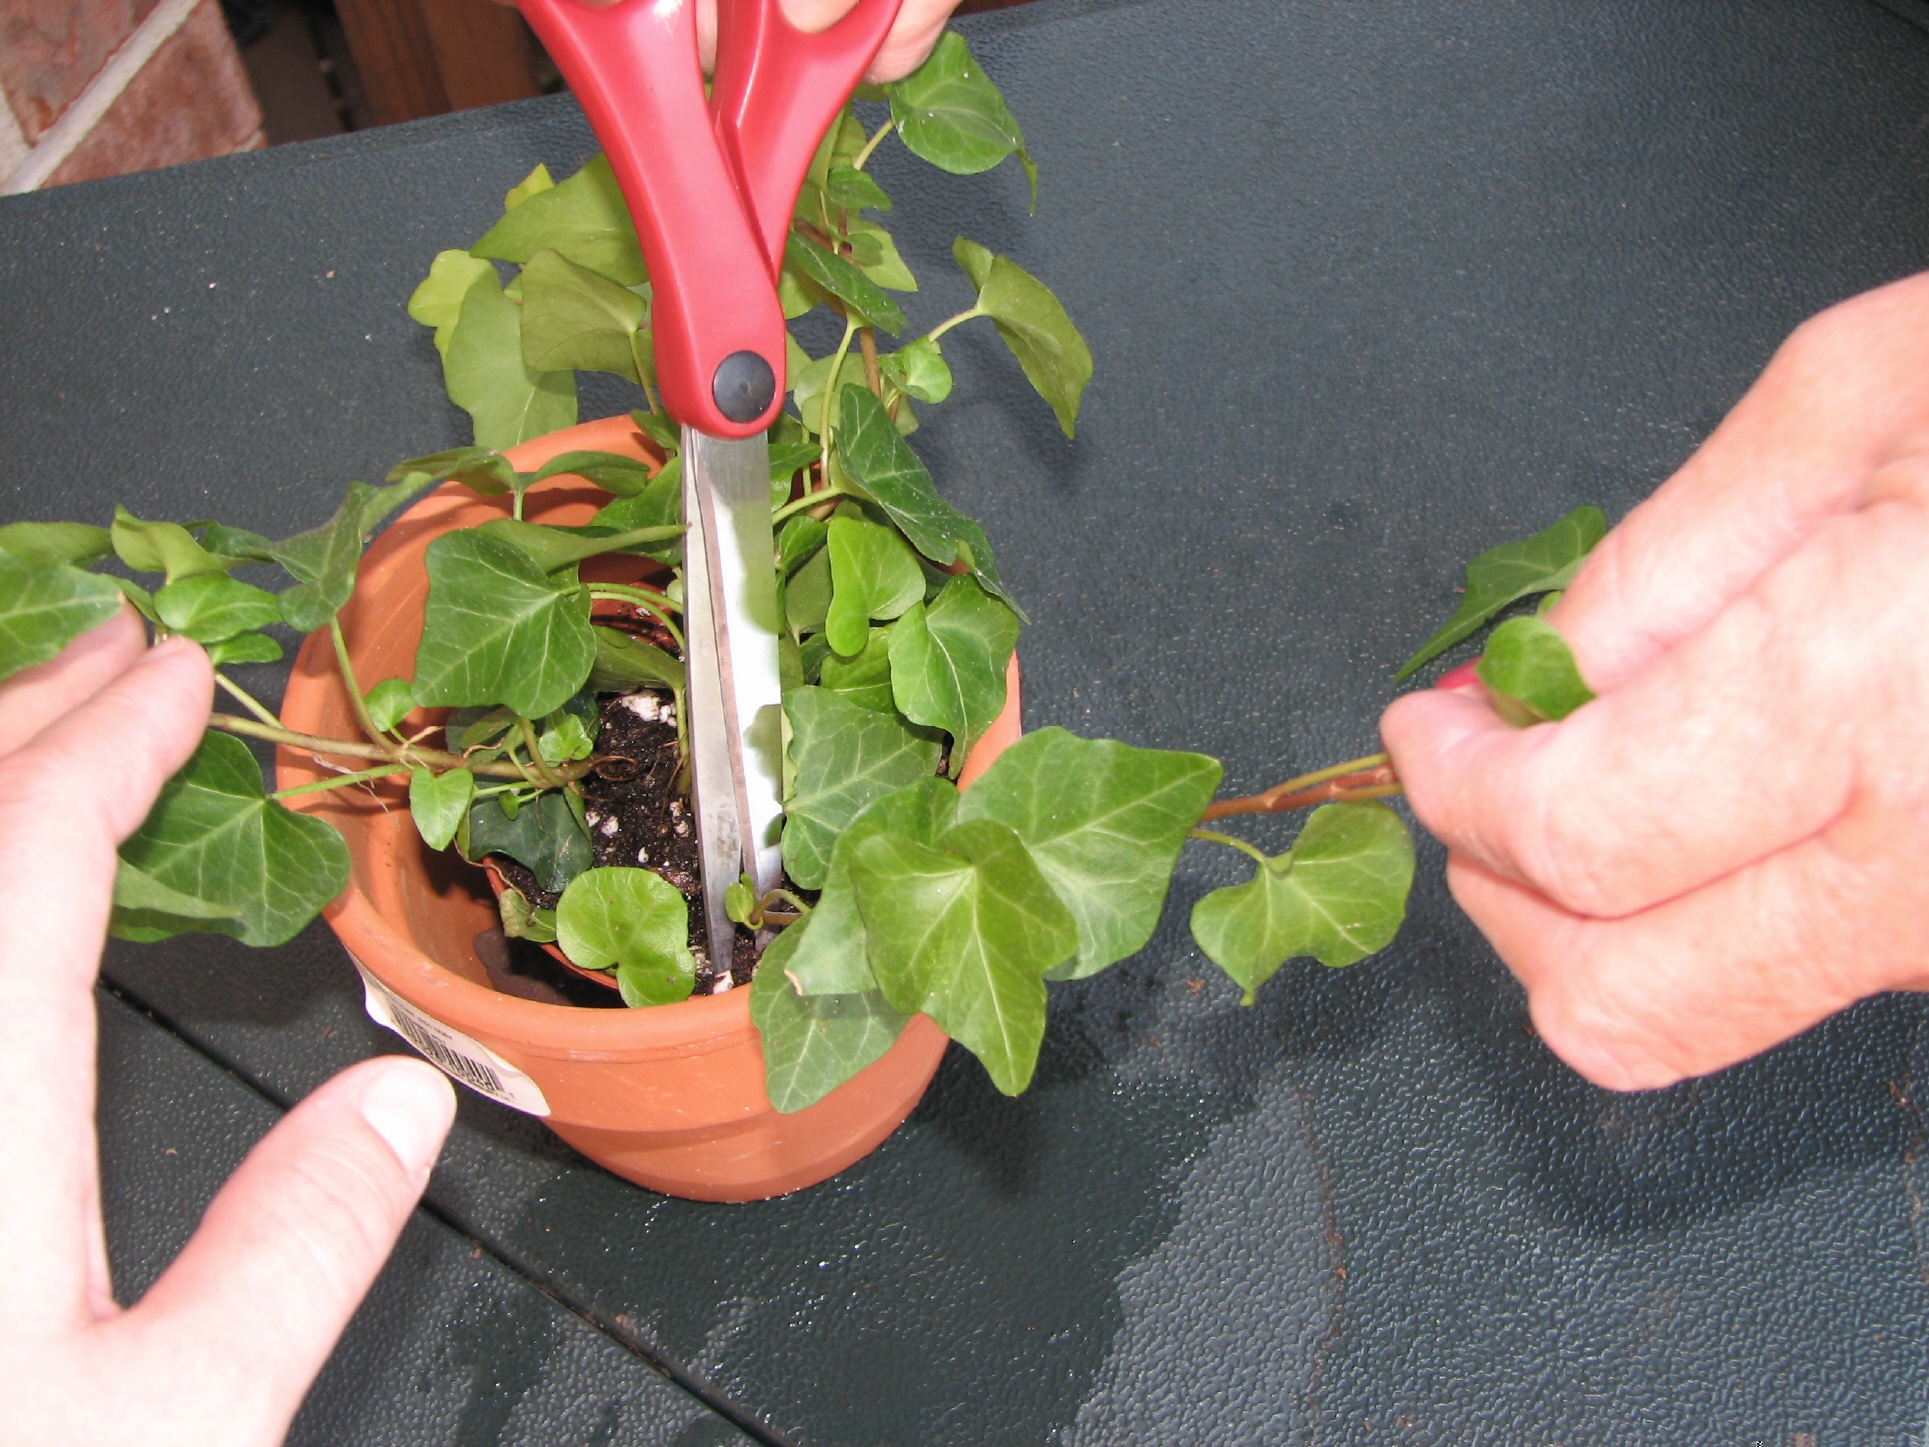
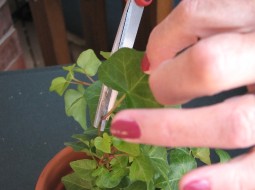
2. Cut the stem off at the base of the plant. If your plant has more than one stem, then just cut off one of the stems. Picture 6

3. Draw what you see.
| insert drawing tool |
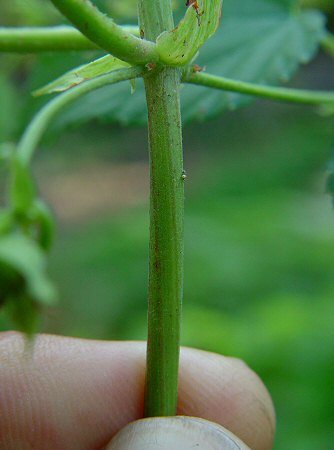
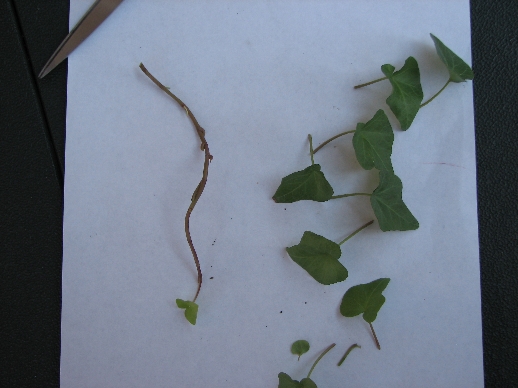
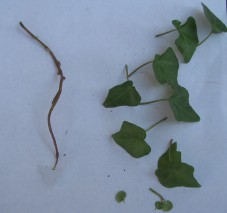
3. Carefully remove all the leaves on your stem. Picture 7 and 8


4. Roll the stem around in your fingers.
Inside the stem of a plant is a system of cells that runs the length of the stem. One of the systems is called xylem (zi-lem). The xylem moves water from the roots to the leaves of the plant. The other system is called a phloem (flo-em). The phloem moves nutrients and sugars around in the plant.
5. Cut the stem in half and peel back the outer layer. Picture 9

6. Get a piece of celery from your teacher. Cut it in half.
7. Draw what you see in the cross section of the celery.
| insert draw tool |
Root Expert Picture 10, 11, 12 and 13


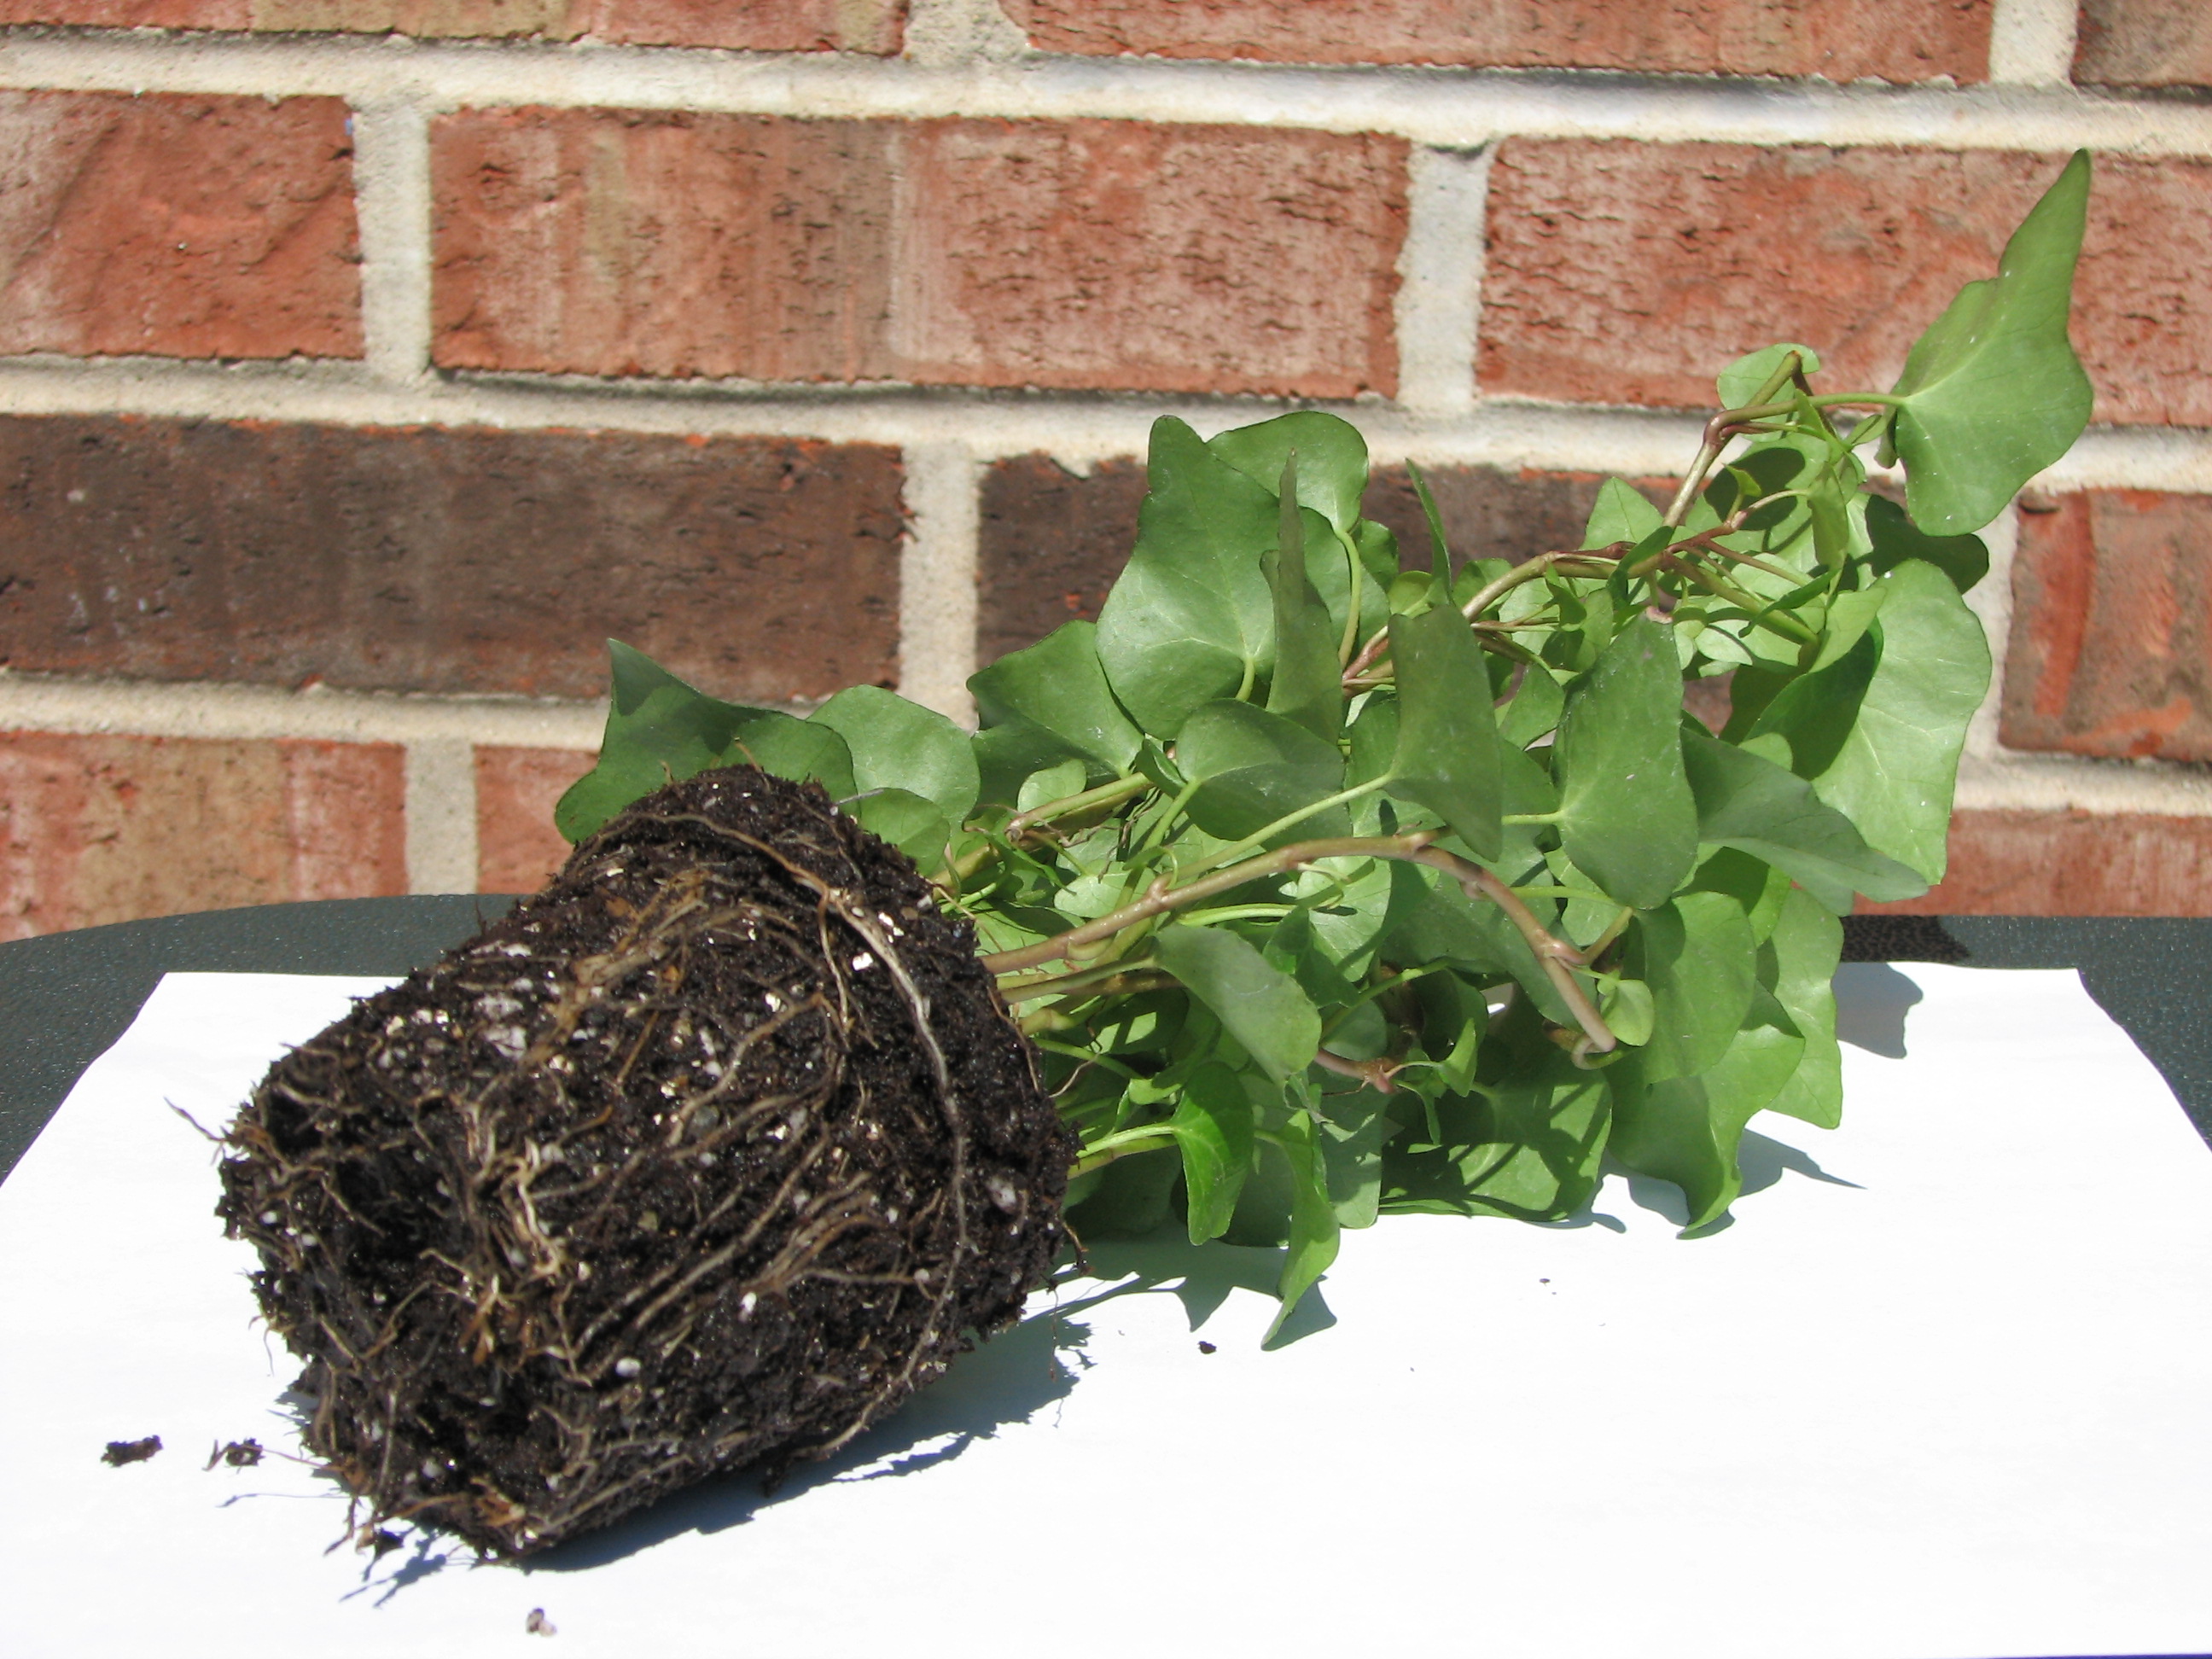
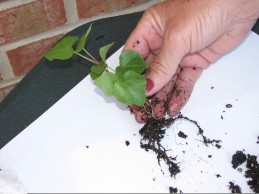
1. Take your plant and carfully pull it out of it's pot. Lay the plant on the newspaper. Picture 14 and 15


2. Carefully brush away the soil from the roots. Picture 16 and 17


Depending upon the type of plant, you may have multiple plants in one pot. You will only need one. Carefully separate one from the rest. Don't pull too hard, because you will rip the roots apart. Picture 18 and 19


3. When you have most of the soil brushed away, wash the roots under a gentle stream of water.
4. Fill a 10 oz clear cup with water.
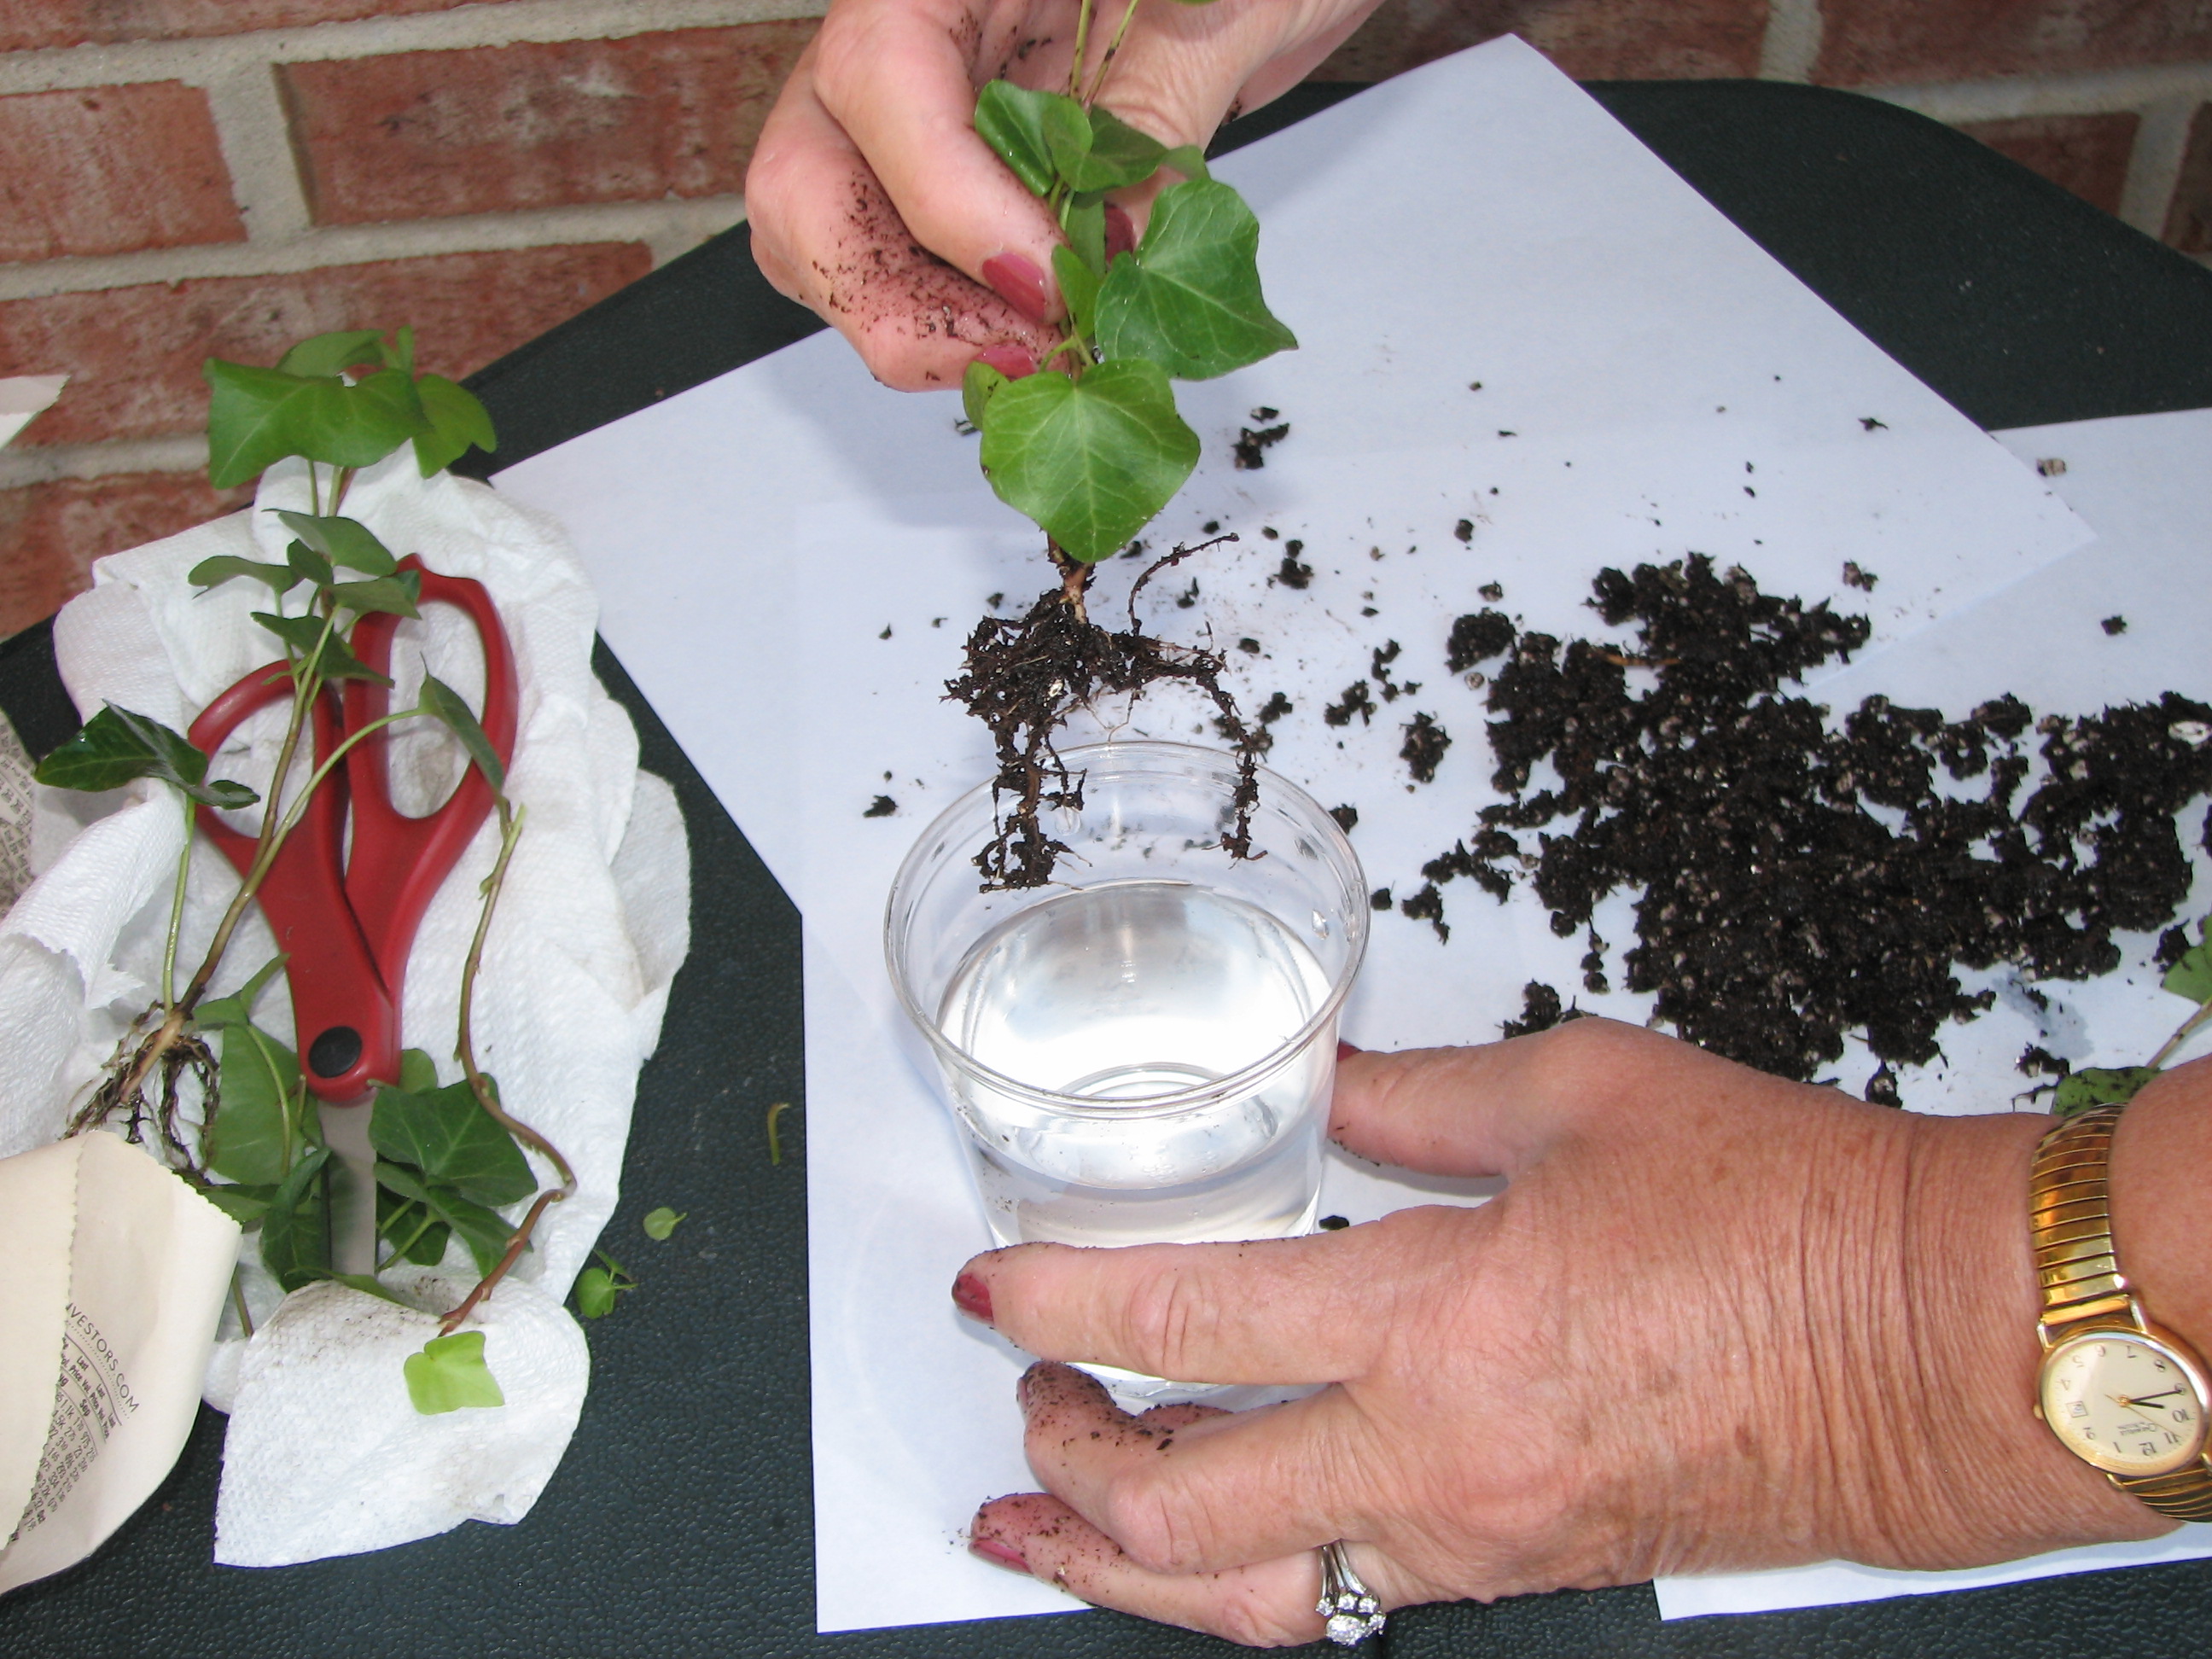
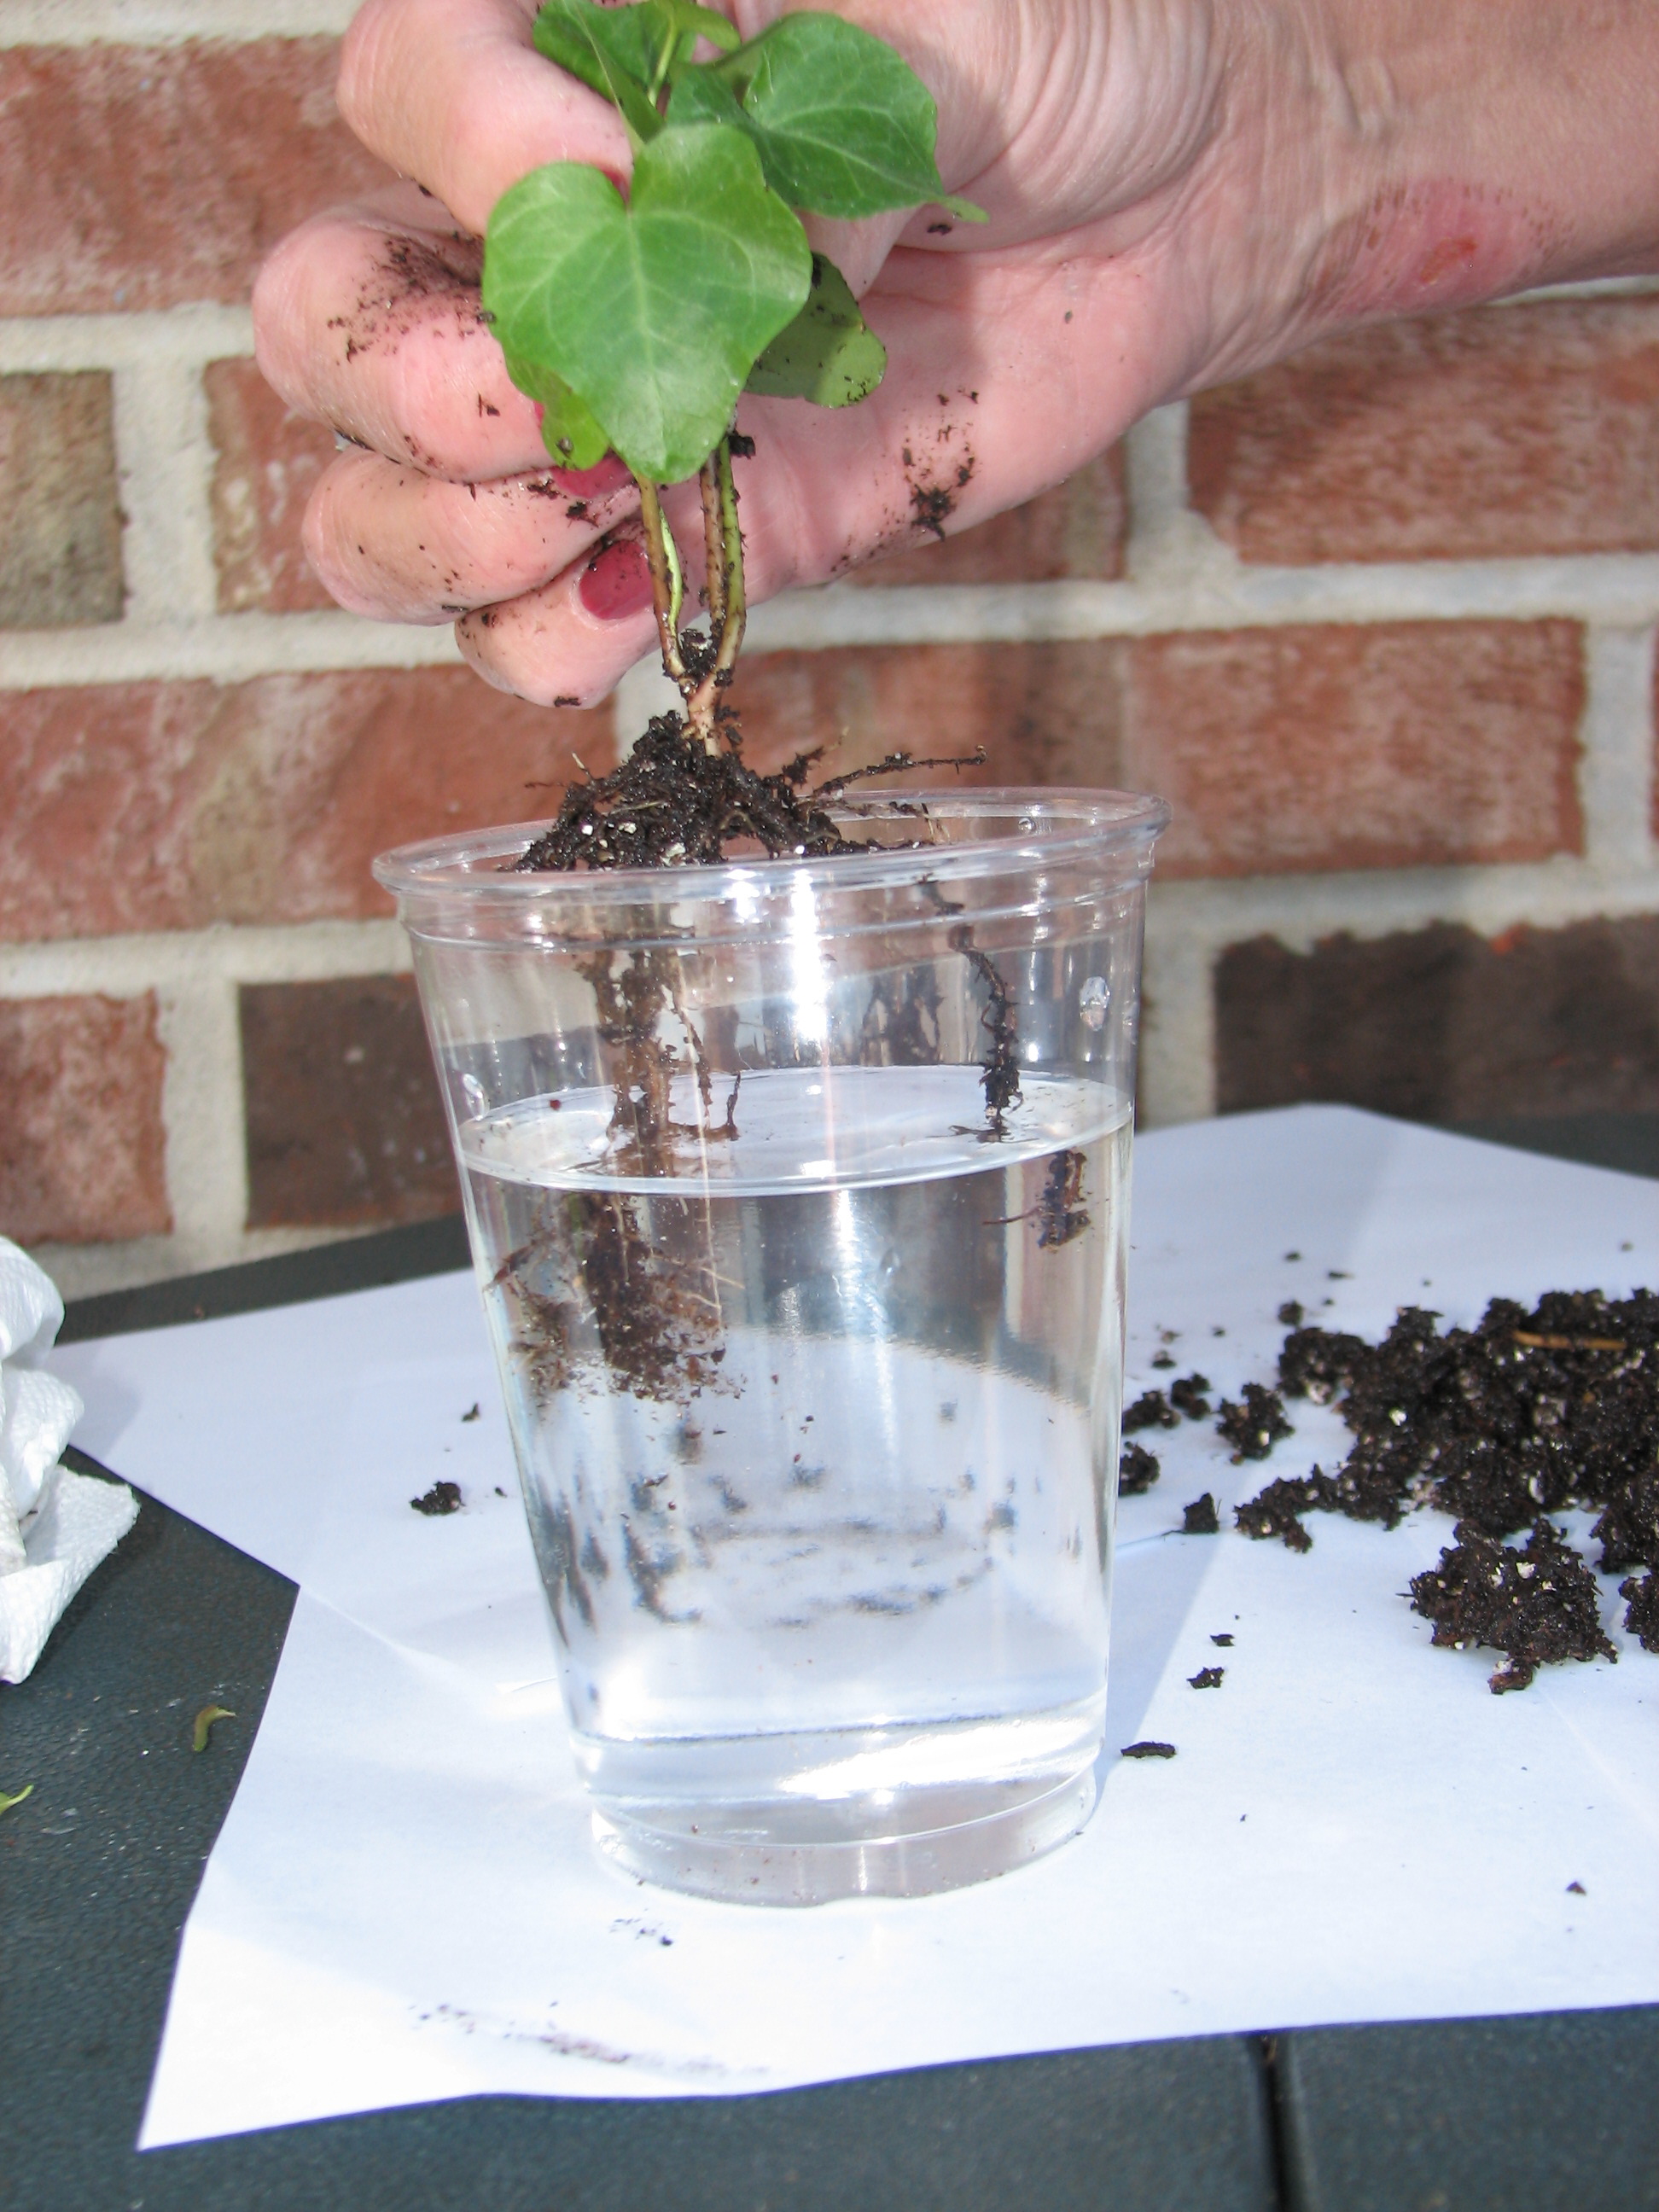
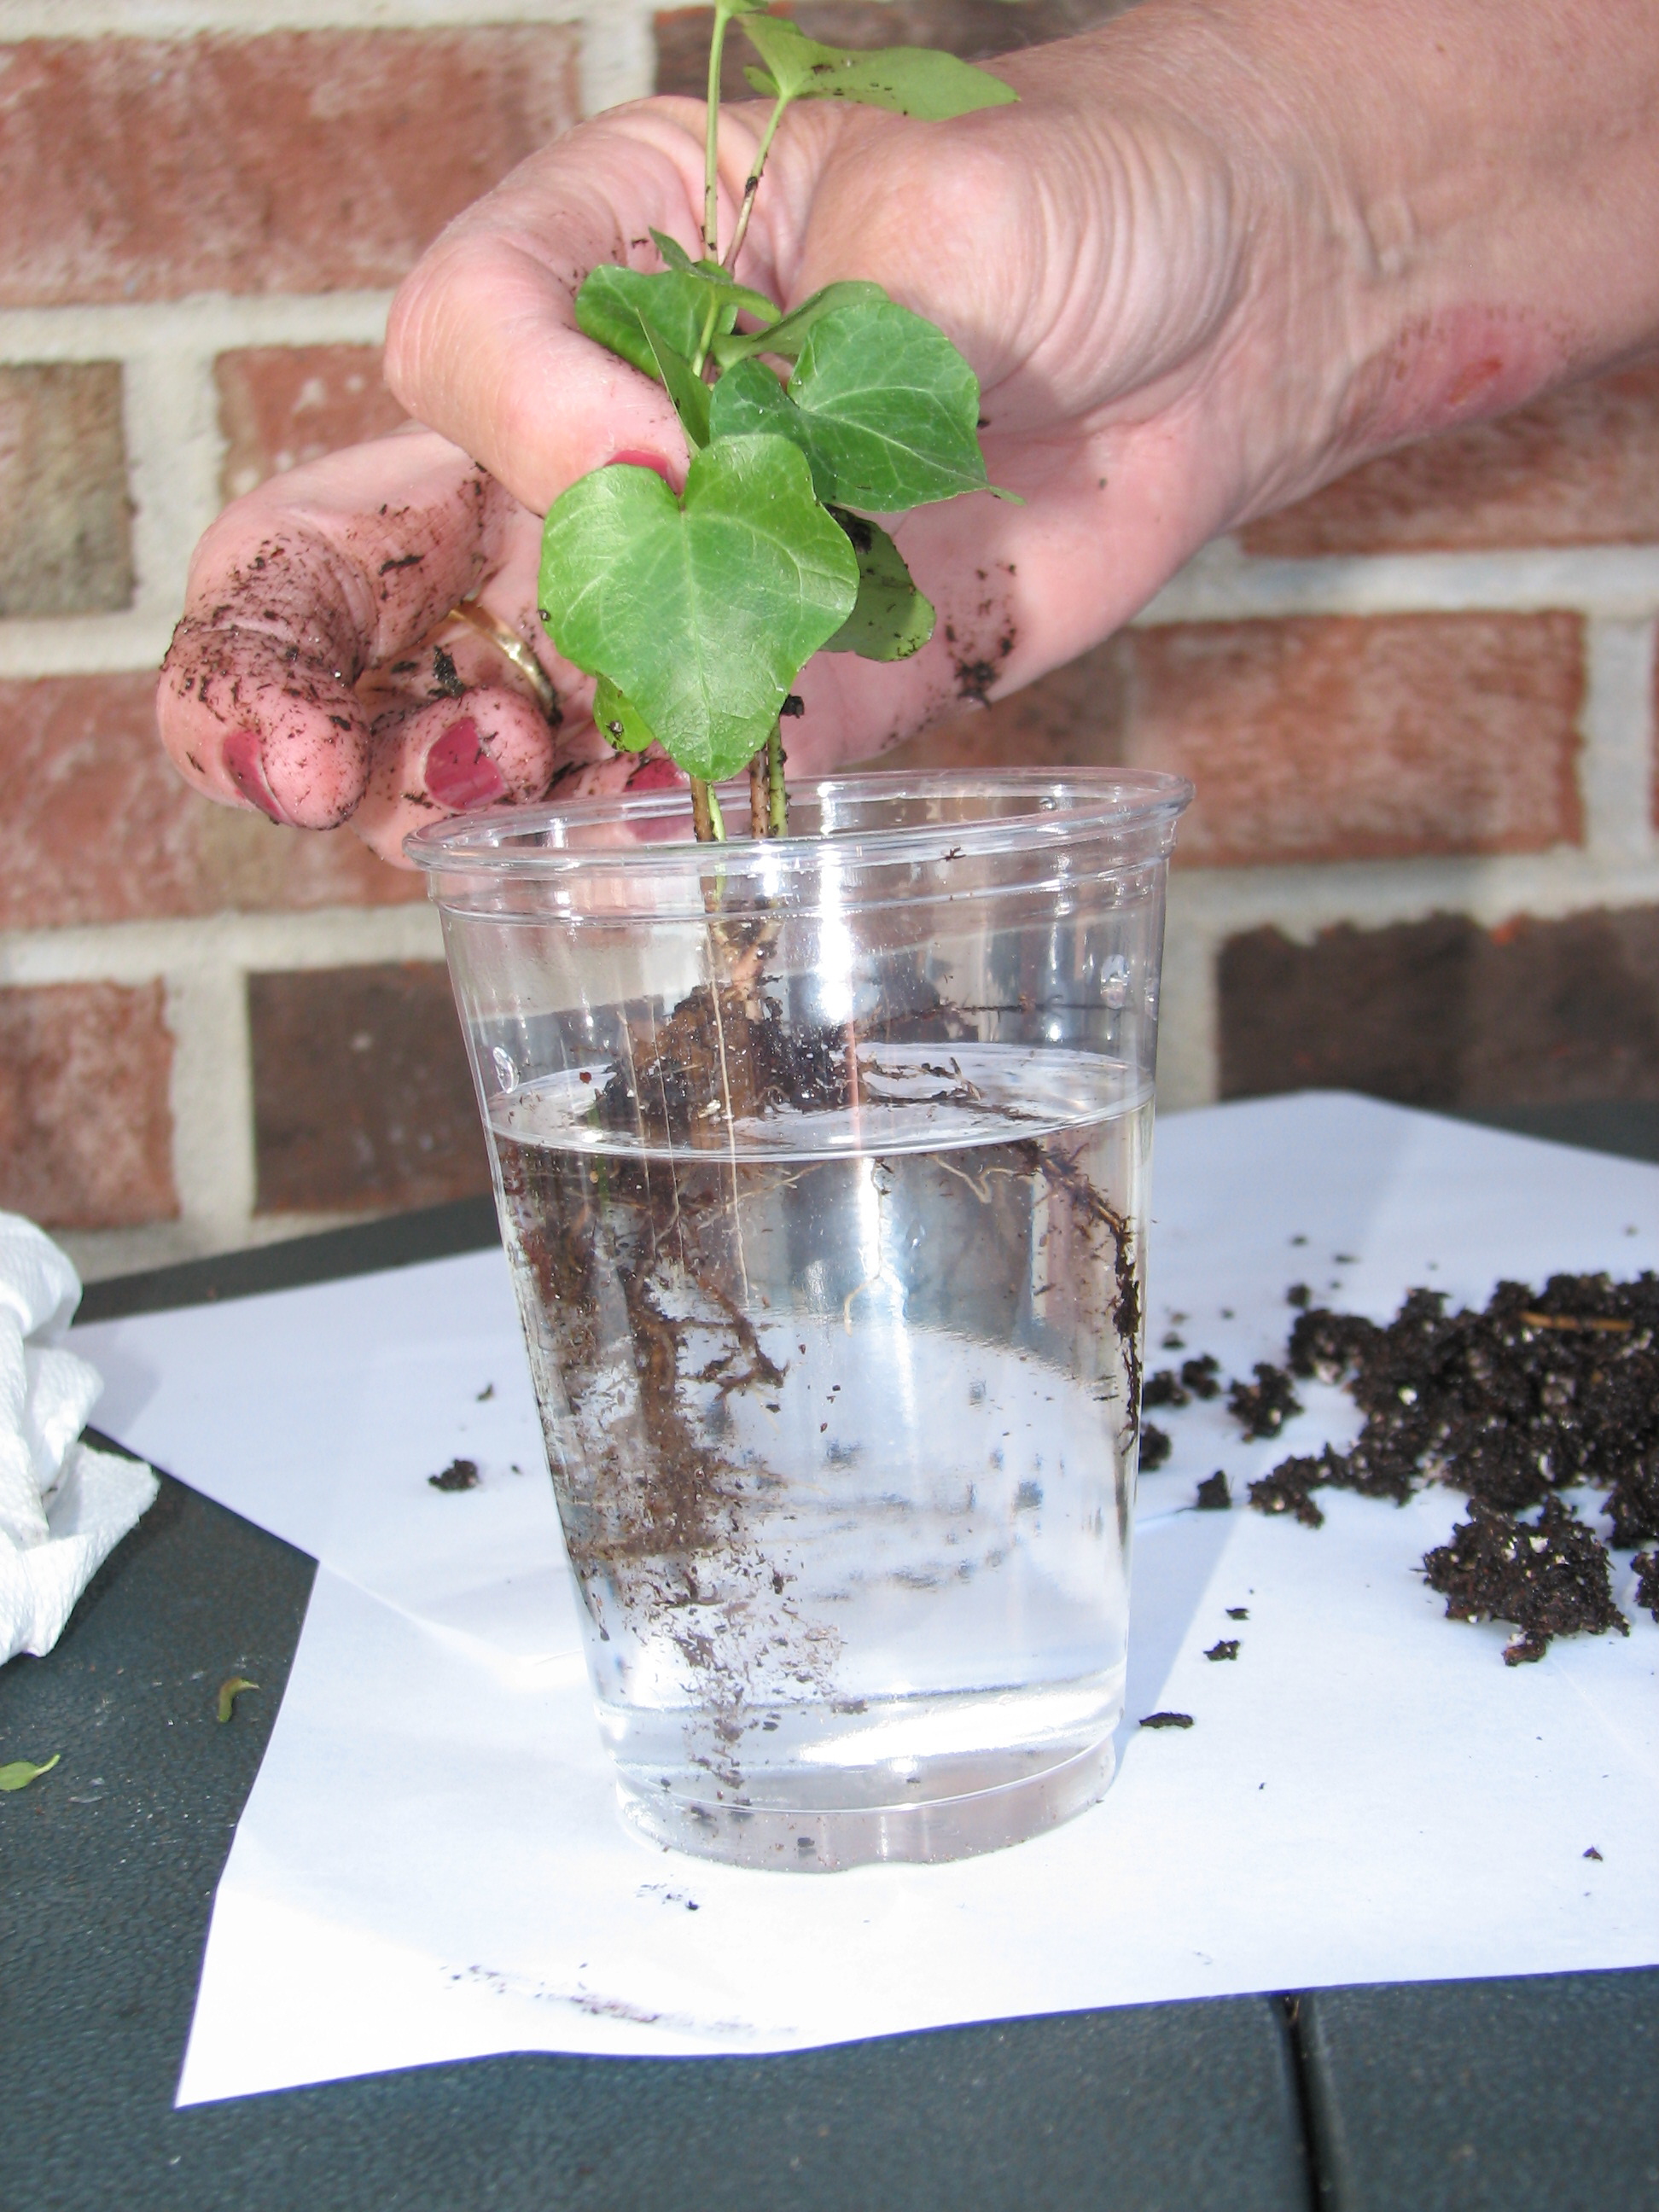
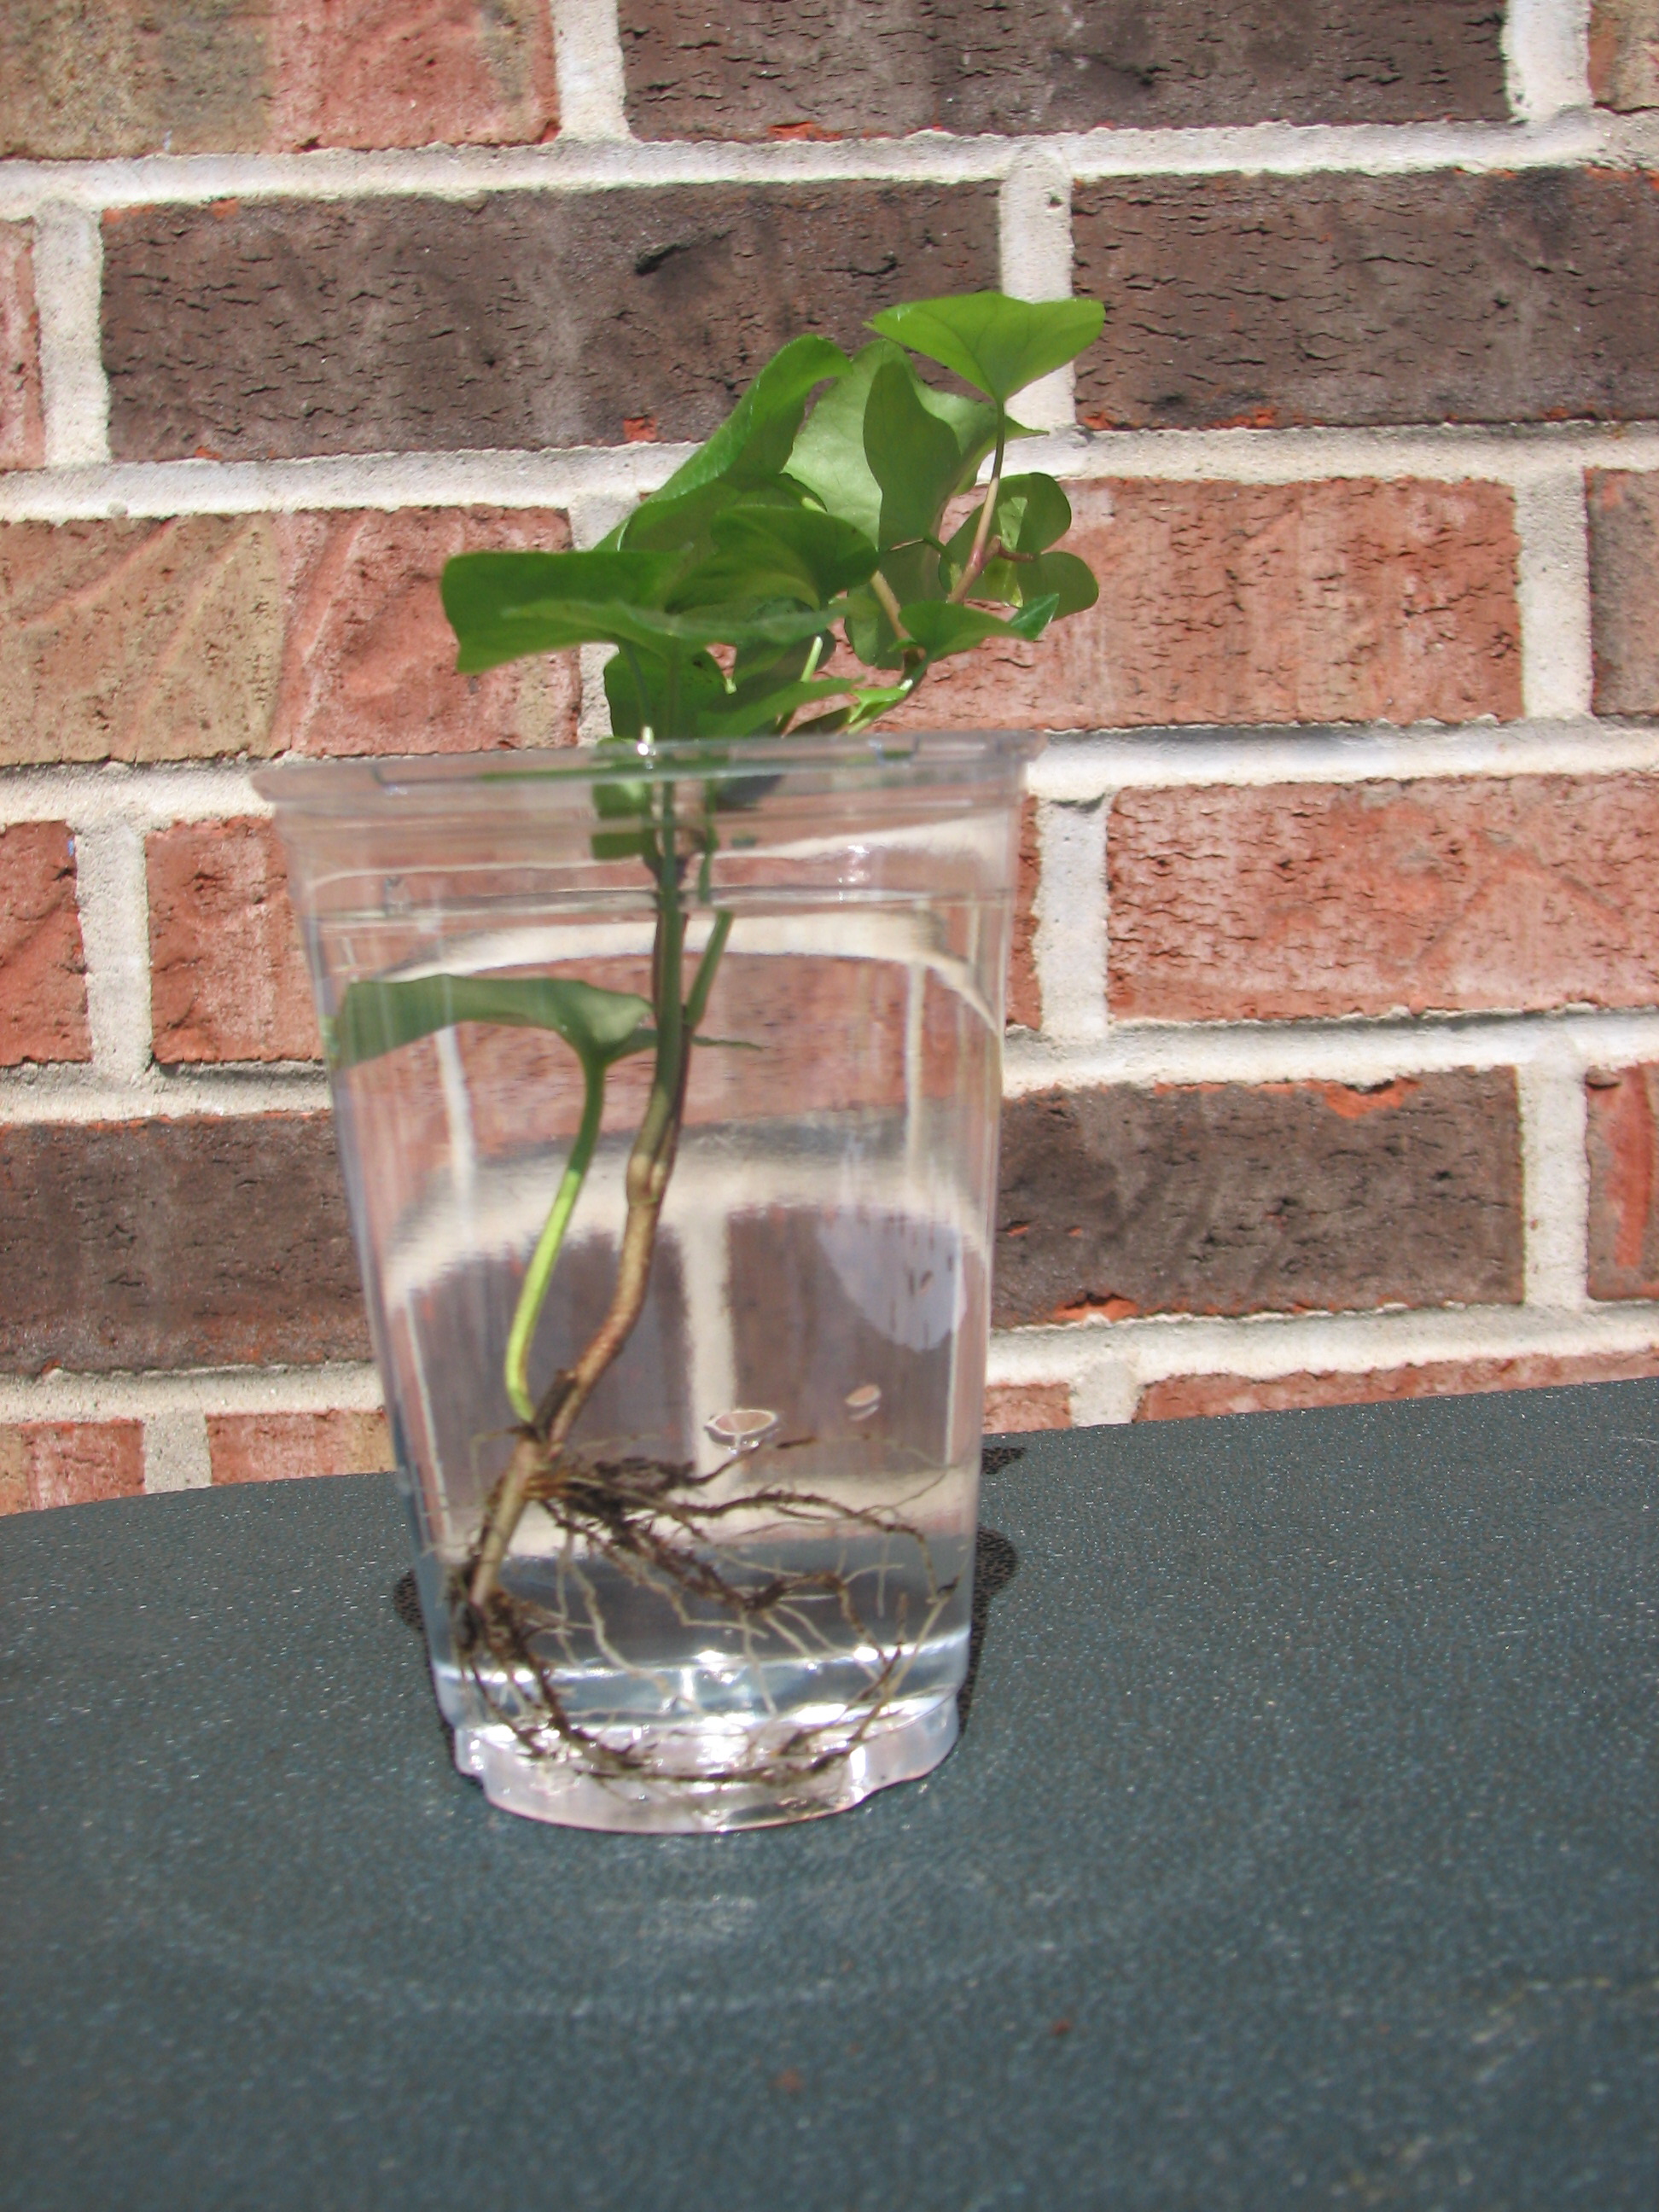
5. Place your one plant in the cup of water. Picture 20
If you plant has lots of soil around the roots, swish your roots around in the cup of water to remove the soil. Dump the water and get clean water. Put your plant in the cup. Picture 21 and 22


6. Use your hand lens to take a closer look at the roots.
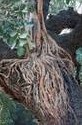
Roots main function is to take up water and minerals from the soil. There are two different types of root systems; taproot and fibrous.
The taproot system has a very large main root with smaller roots growing off of it. The carrot in a carrot plant is really the main root of the plant. Oak and hickory trees also have a taproot system. The taproot grows so long and thick to reach ground water. Picture 23, 24 and 25


need to get a picture of a carrot with green leaves on the top and root hairs on the carrot/root part Picture 26 |
The fibrous root system is a number of roots that branch off each other. No single root growth thicker or longer then the other. Grasses and some trees have the fibrous root system. Picture 27, 28, 29, 30


7. Make observations about your plant by answering the following questions.
- What color are the roots?
- What root system does your plant have?
- Can you see root hairs?
need to define and teach students what an observation is
8. Draw what you see.

insert drawing tool
7. Take a look at your plant. Which type of root system does your plant have?
On all roots are tiny little hairs. These are called root hairs. Root hairs take in additional water and minerals from the soil.
8. Using your hand lens, find the root hairs on your root.
9. Click here to go to the activity questions
Explain
| need to add the leaves, stem, root icons and hyperlinks to the appropriate set of questions, students should also be able to call up the notes/questions they answered during the procedure section. Possibly hyperlinking back or having a button saying notes that pulls up their drawing etc... to help them answer these questions. |
Leaf Expert Questions
- In the picture below, identify the parts of the plant that are leaves? Picture 31

- Why are all the leaves on the outter part of the plant?
- What materials enter the plant through the leaves?
- What materials exit the plant through the leaves?
Stem Expert Questions
- In the picture below, identify the parts of the plant that is the stem. Picture 32
- Explain why a stem needs to be strong and upright?
- What materials travel through the stem?
Root Expert Questions
- In the picture below, identify the part of the plant that is the root. Picture 33
- Why are roots found in the ground?
- What materials enter through the roots?
Elaborate
[new idea - pull all three people together -- share what you learned...draw a picture as a group...and label it.]
Now that you have completed the activity, come back to your group of three and complete the following.
1. Label the following on the diagram below: Leaves, Stems and Roots
| need to have a black lined picture of a generic tree in the box of the draw program. The students will be enhancing this picture with the functions of the draw program. Picture 34 |
2. Using a blue color show:
- water entering the plant
- how water moves through the plant
- how water exits the plant
3. Using a yellow color show:
- how the sunlight enters the plant
4. Using a gray color show:
- how carbon dioxide enters the plant
- how oxygen exits the plant
Plants need carbon dioxide, sunlight and water to make their food. Explain the role leaves, stems and roots have in making food.